Get Started in Minutes
1.1 Welcome & onboarding
Welcome to SkedMe! 🎉 In this short guide, you'll learn how to set up your professional booking page and get ready to start accepting clients — all in just a few minutes. Follow the steps below to complete the onboarding process and launch your SkedMe page.
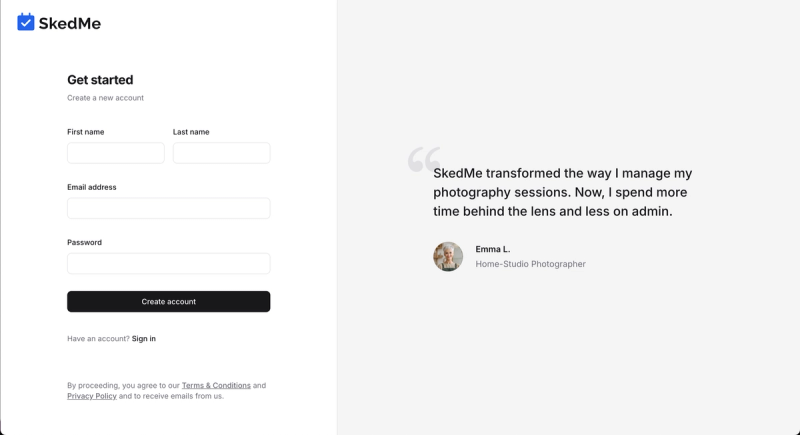
📝 Step 1: Create Your Account
- Go to skedme.pro and click Get Started in the top-right corner.
- Fill in your first name, last name, email, and password.
- Click Create Account to start onboarding.
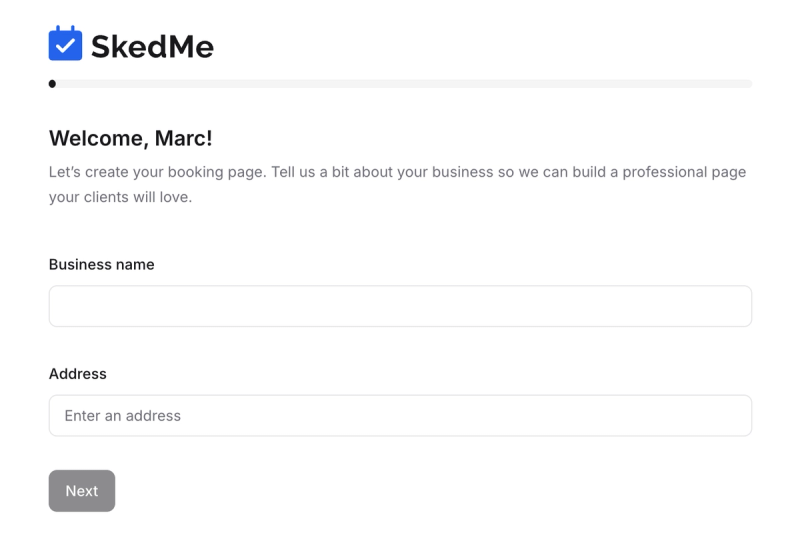
🏢 Step 2: Set Up Your Business Info
- Enter your business name and business address.
- Click Next.
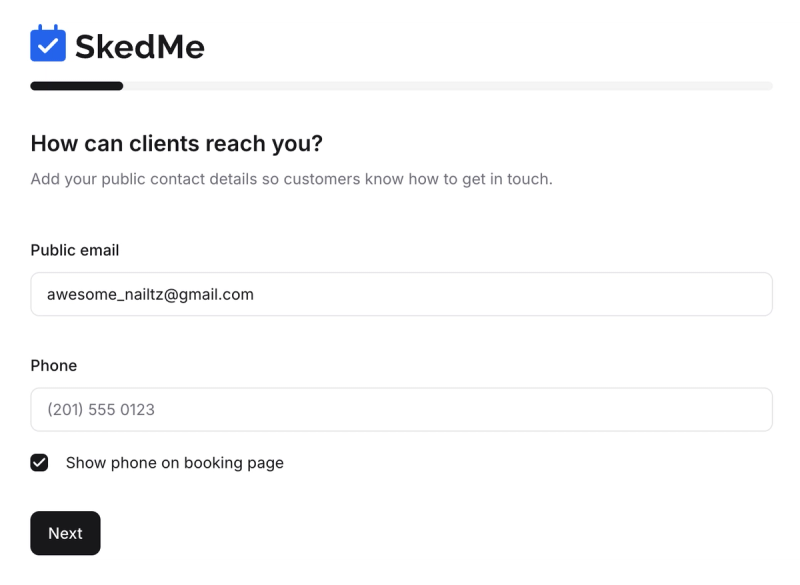
- Add your public email and phone number for clients.
- ✅ Check the box if you want to show your phone number on your booking page.
- Leave it unchecked if you prefer not to display it.
- Click Next.
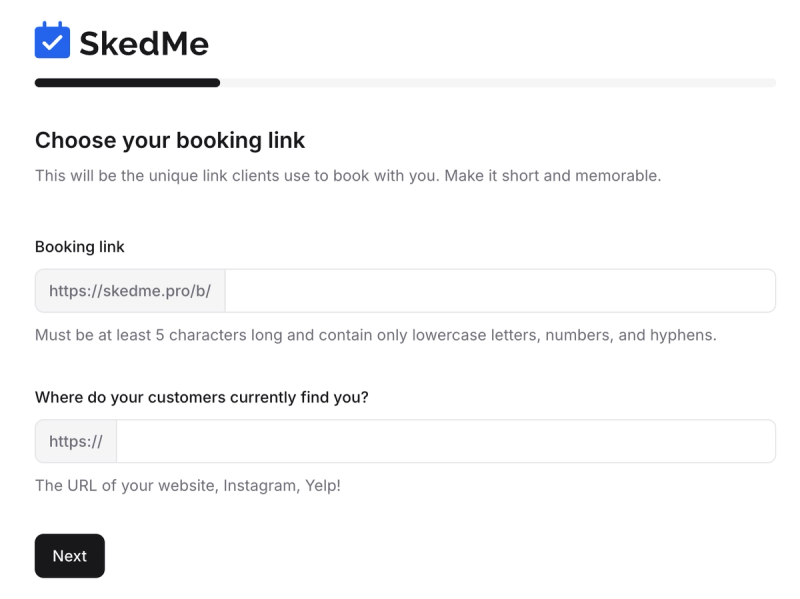
🔗 Step 3: Customize Your Booking Page URL
- Choose a custom URL slug for your page.
- Example: skedme.pro/b/awesomenails
- We'll pre-fill it, but feel free to edit if it's available.
- Add your current website, Instagram, or Yelp — whatever you use to promote your business.
- Click Next.
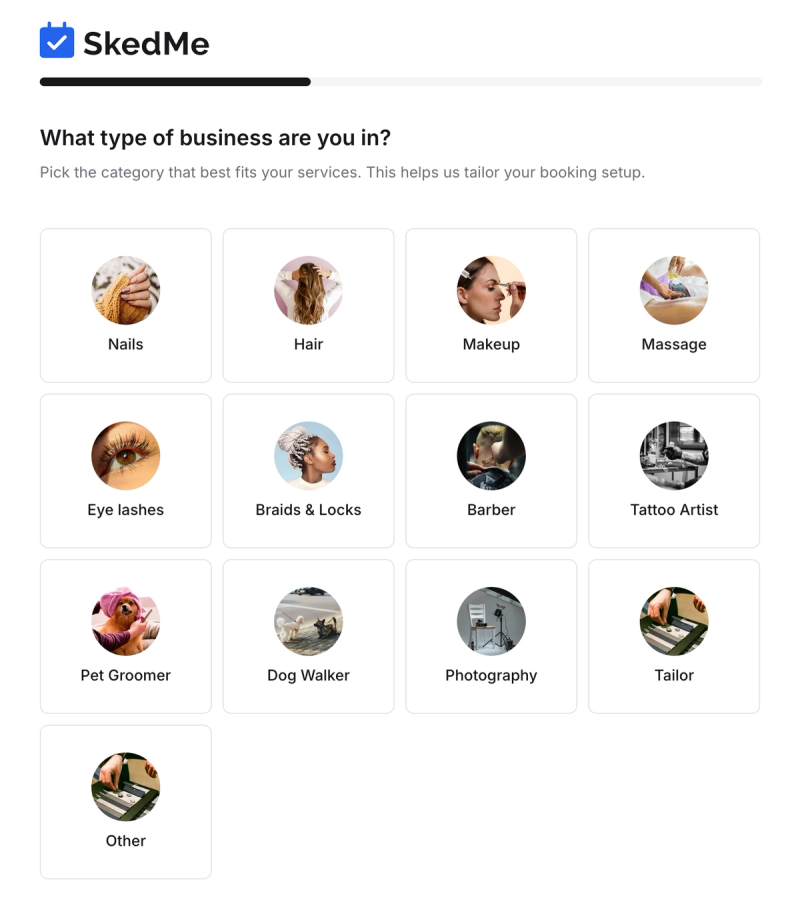
💅 Step 4: Select Your Business Type & Services
- Pick your business type from the list (e.g. Nails, Hair, etc.)
- We’ll show you popular services to choose from.
- Select the services you want to offer — you’ll customize them next.
- For each service:
- Edit the name, price, and duration.
- These are just suggestions — feel free to adjust as needed.
- Click Next when you're done.

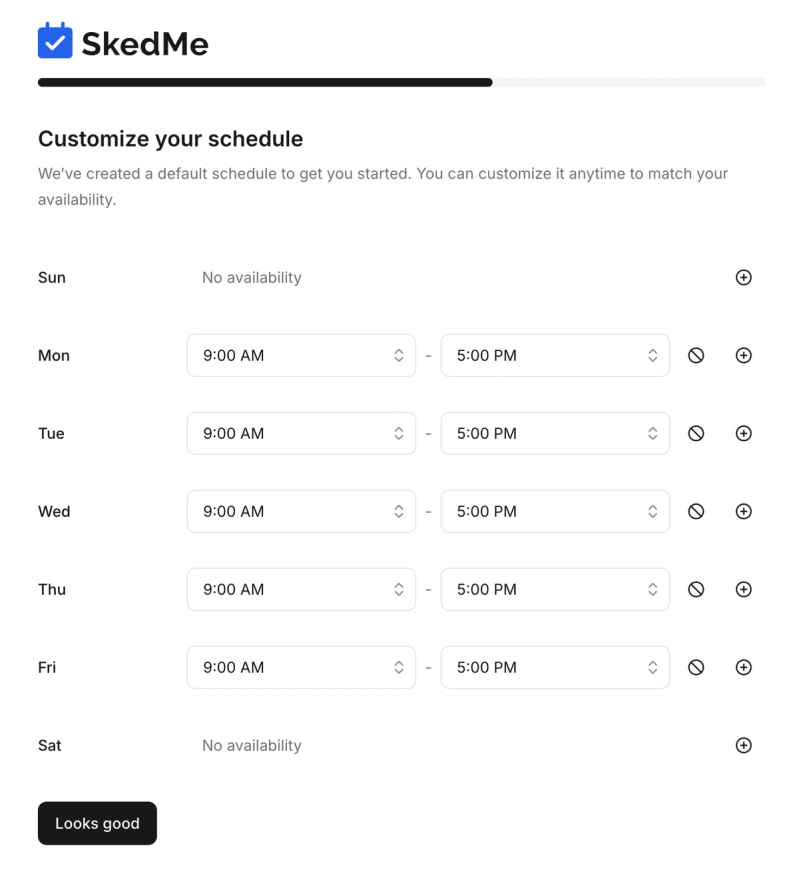
⏰ Step 5: Set Your Availability
- Choose your weekly hours of availability.
- You can add multiple time blocks per day.
- Example: 9am–1pm and 2pm–6pm on Mondays.
- Use the trash icon to remove any time blocks.
- Click Looks Good to continue.
🖼️ Step 6: Personalize Your Profile Page
- Upload a profile picture and a cover image.
- Edit or remove any images from your gallery.
- Add your own photos to showcase your work!
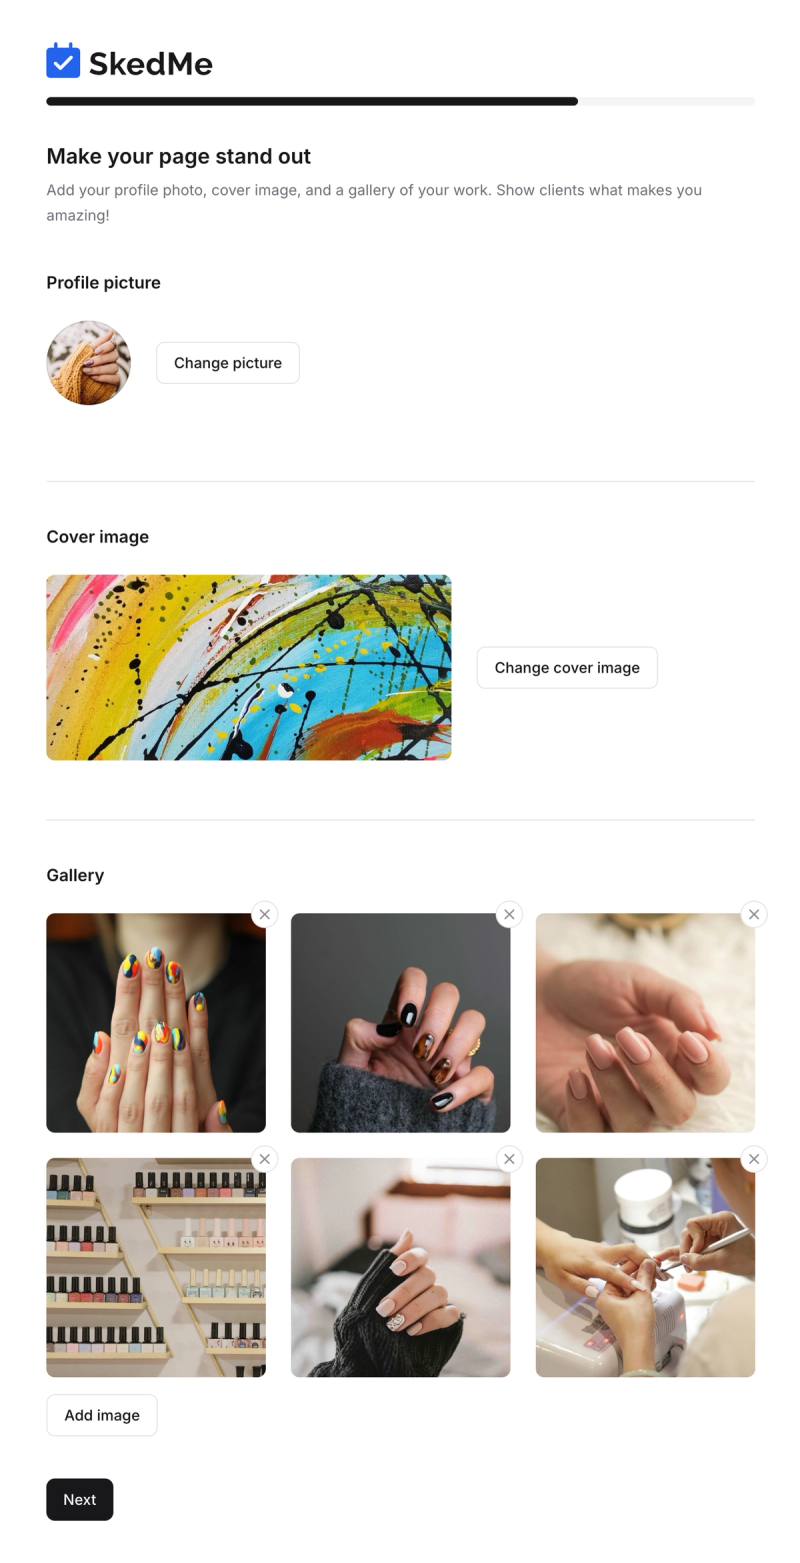
- Click Next to finalize.
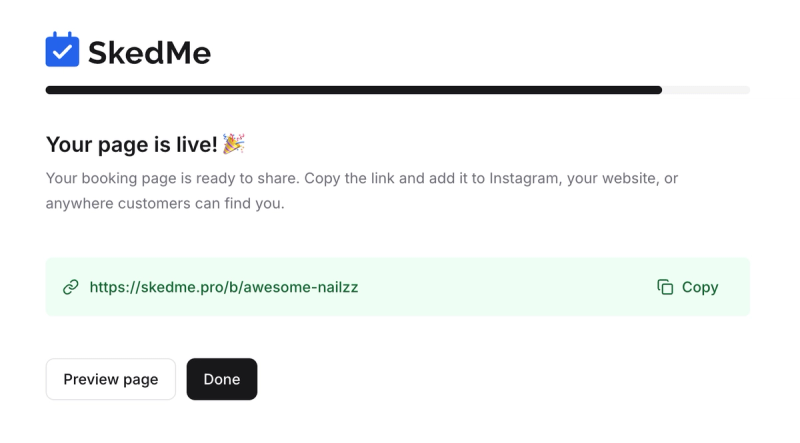
🚀 You’re Live!
🎉 Congrats! Your SkedMe booking page is now ready to use.
- Copy your unique booking link and share it with clients.
- Click Preview Page to see how it looks.
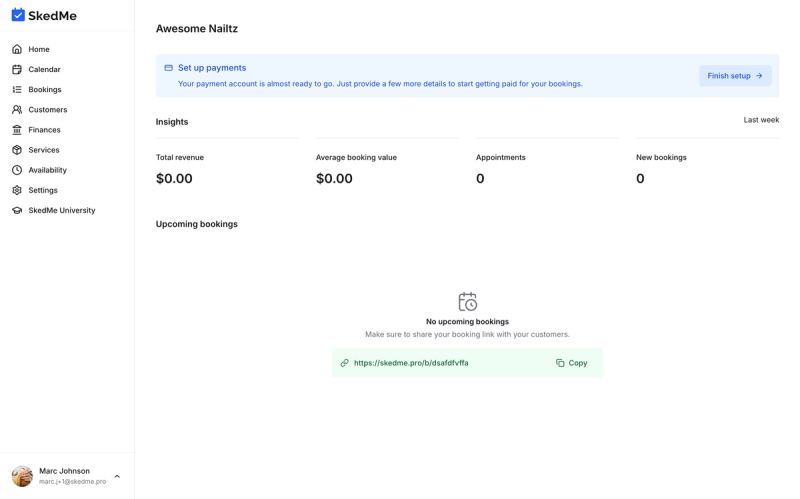
✅ Final Steps
- Click Done to access your Dashboard.
- From there, we recommend linking your account to Stripe so you can accept payments.
- Your clients can now book services directly from your page!
Need to update anything later? No worries! In upcoming videos, we’ll show you how to:
- Add more services
- Adjust availability
- Connect Google Calendar
- And more!
See you in the next guide! 👋